How do you shoot promo-quality studio shots of a car without spending huge amounts of cash on lighting equipment and cameras?
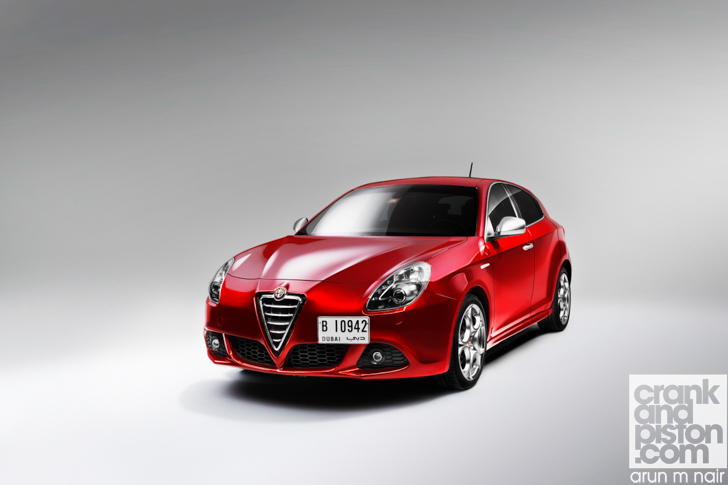
That was the challenge for our intrepid crankandpiston photographer Arun M Nair. Top studio shoots can quite easily cost tens of thousands of dollars. We gave Arun a fraction of that, and told him to bring us the best images he could of this Alfa Romeo Giulietta. Here’s how he got on.
Step One
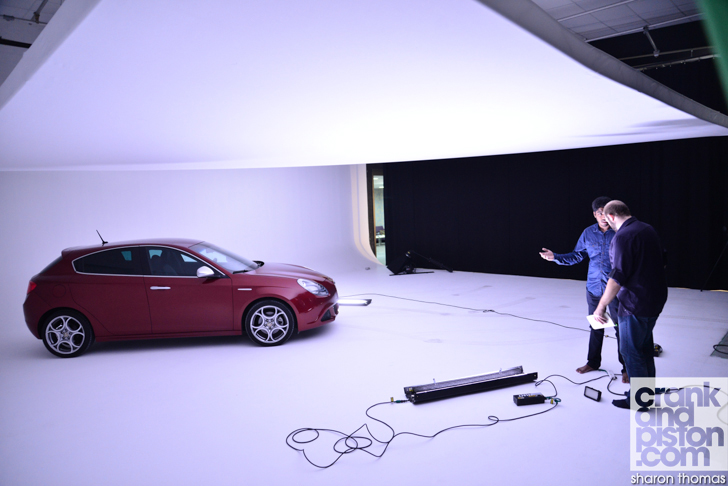
“Panic! On this relatively low budget, I could only afford a small studio and not much equipment, which makes it a tough job. I’d worked at the same studio before on another machine and for this shoot wanted a floating ceiling, which is basically a large soft box hung above the car. This is pretty vital for this type of shoot, as it provides a large constant light source, which lights up the whole car beautifully and brings out a lot of the aesthetic details. The trouble was that once I hired the studio and the floating ceiling, most of my budget was gone – I didn’t have enough for the lights that go inside the ceiling.”
Step Two
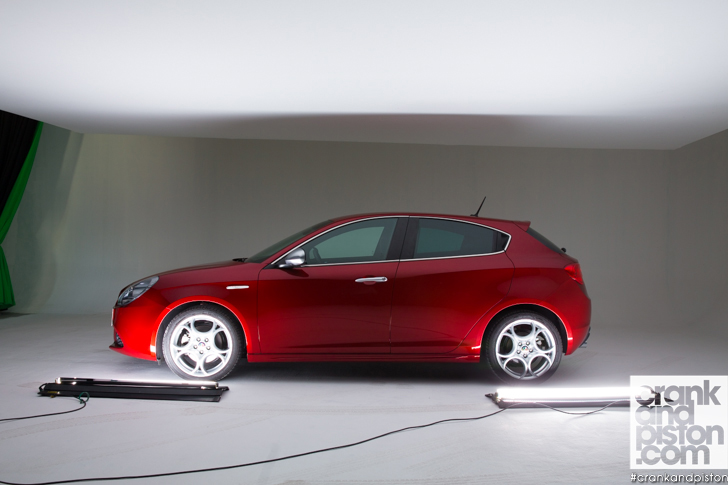
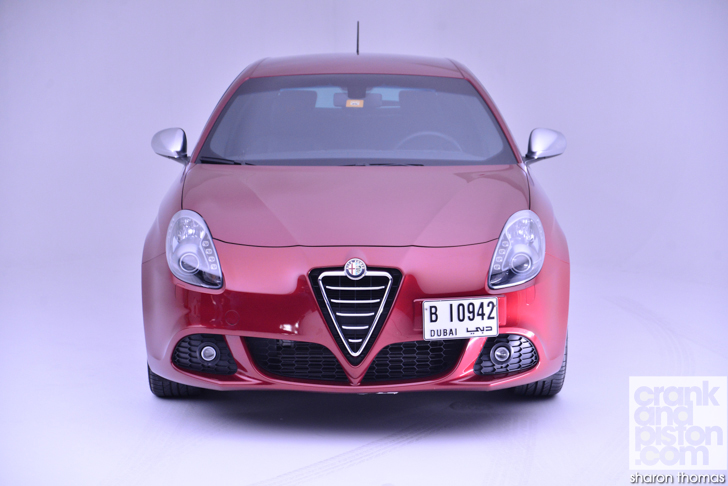
“Improvise. I needed to find a technique to light the soft box. So I decided to bounce light from the floor onto the box to reflect back onto the Giulietta, which I managed using two daylight-tone ceiling tube lights. They were smaller than the bigger light I wanted, so I decided to shoot with a longer exposure to compensate – the longer the exposure, the brighter the resultant image.
“The set up I put together showed up the basic bodyline of the Alfa well. It wasn’t perfect, but it was close. I had enough of a base to start with.”
Step Three
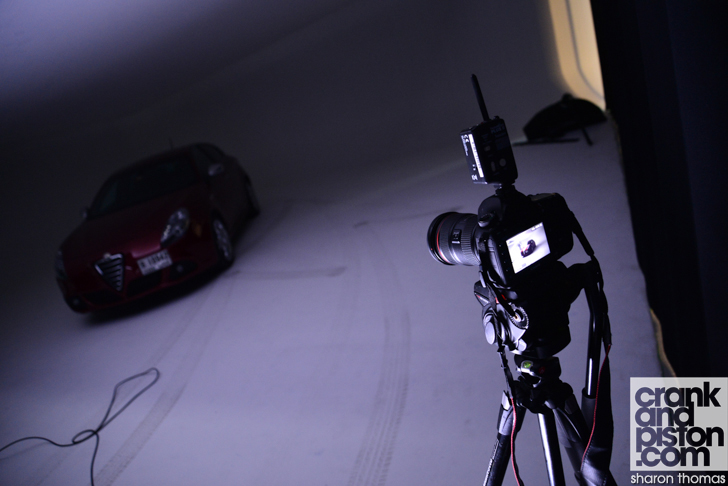
“Fill in the gaps. With the base image taken, I started individually lighting other parts with the flash – the shoulder lines, the alloy wheels, grilles; all the fittings that don’t immediately pop out with the main light.
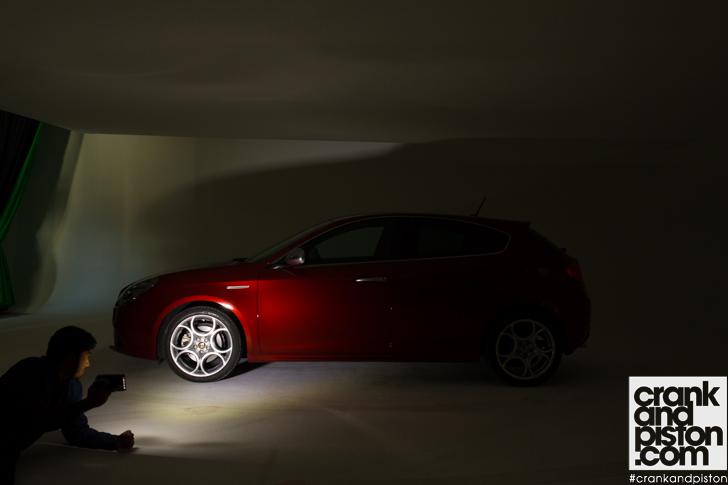
“After that I did some light painting, which is a similar process, but you use a long exposure and move the light source while the shutter is open. This reveals the Alfa’s bodylines using a long streak of light. I did this because I wasn’t sure how well the previous techniques would work with this equipment – it was a back up in case the flash hadn’t given the correct effect.
Step Four
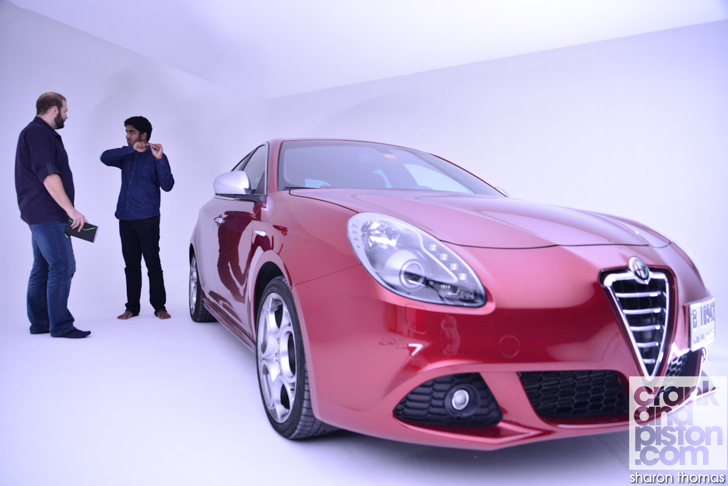
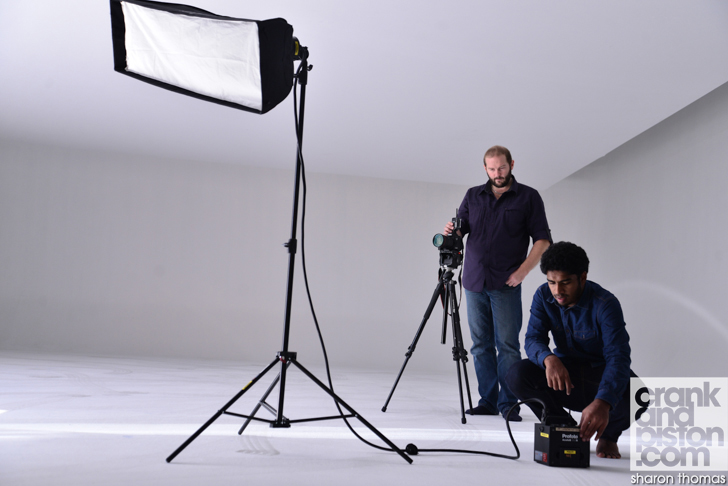
“Set aside time. Whenever you limit a studio shoot budget, you need extra human resources to compensate, but there were only three of us. So I had to adjust the lights, the floating ceiling and so on myself, and then come back and make sure each image was OK. It’s time consuming, because for the finished images you see here, it’s a combination of 30 to 40 individual images. If you have top-level equipment then you can probably do it in six images, but with this equipment I had to make sure all the details were captured properly.
“The Alfa Romeo’s paint reacts differently depending on how much light hits it. Under strong light it’s a beautiful, strong red, but under less light it’s more of a purple, magenta colour. This is a big problem for post-production, so I needed to make sure the lights were at the same distance from the car on each shot. That means measuring it, which also takes a lot of time.”
Step Five
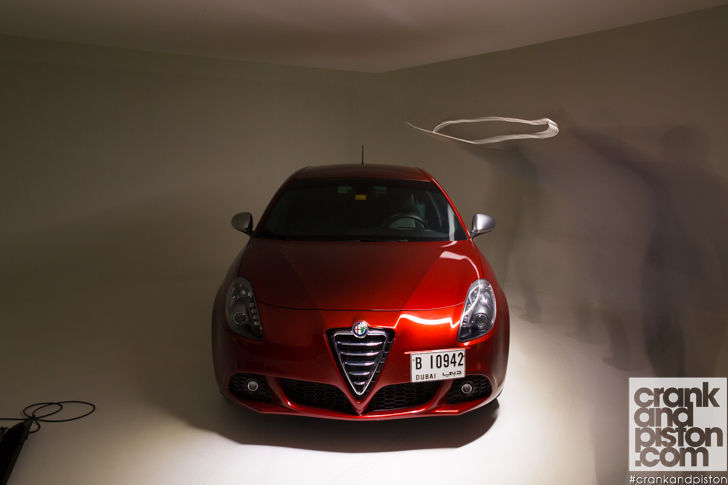
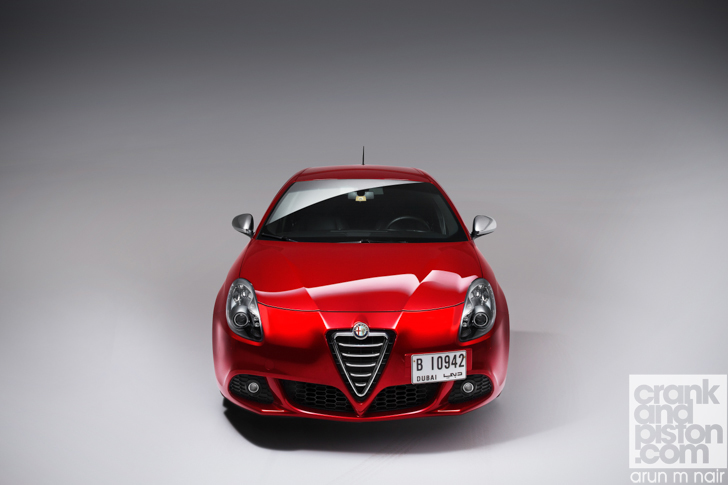
“Bring it all together. I went to the Alfa Romeo website to get an idea of a reference point for the car’s colours and to look at the way they’ve done their own shoots, and I tried to recreate the same kind of mood.
“On the computer, I took the base image and placed over it layers of the single images with the details brought out with lights. With Photoshop I then merged the relevant parts of each image together. That gives you a well-lit image, but when you look closely you can see reflections of the crew, of me, of cables and so on. It’s not flawless. So I used the Clone Stamp and Patch tools to remove those unwanted things from the frame. Using selective colours and colour balance tools, I made the car pop by giving it a more saturated, well contrasted look.”
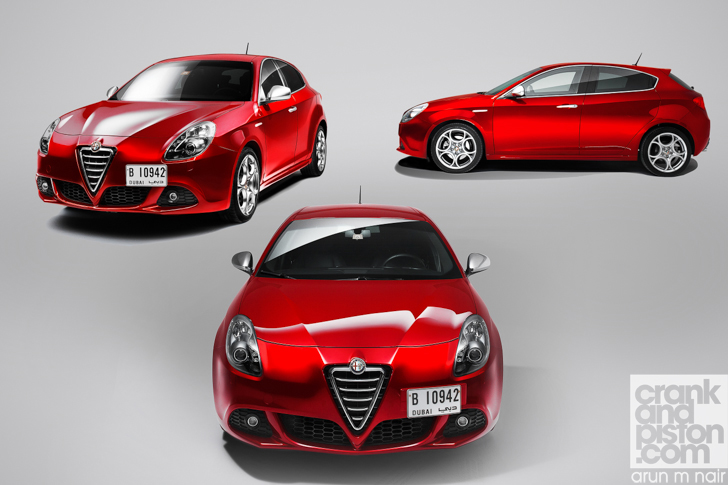
The end result
“Just because you don’t have a lot of money, doesn’t mean you can’t get top-level images. It just means you need to invest more time and thought into the method, mixing all your ideas and experience to find ways to get the results. To get these three final images we spent five hours in the studio, which included setting up all the equipment, moving the car around and taking all the individual images. I then spent around ten hours in post-production over two days.
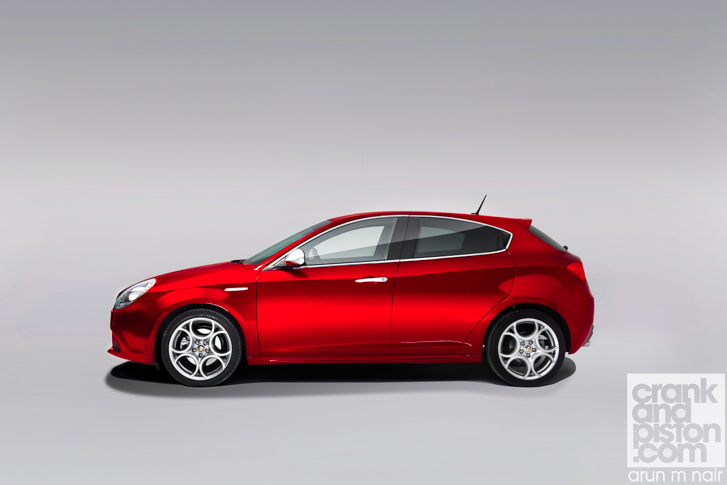
“I try and compare my work with the world’s best, shot with huge budgets, and those final results are what I aim for. As an artist, I’m never happy with the results! But as an achievement, with my current skills and the heavy restrictions on this job, I’m pretty pleased with the way these came out. Experience is the key thing here, learning to make the most of what you have and improvising.”